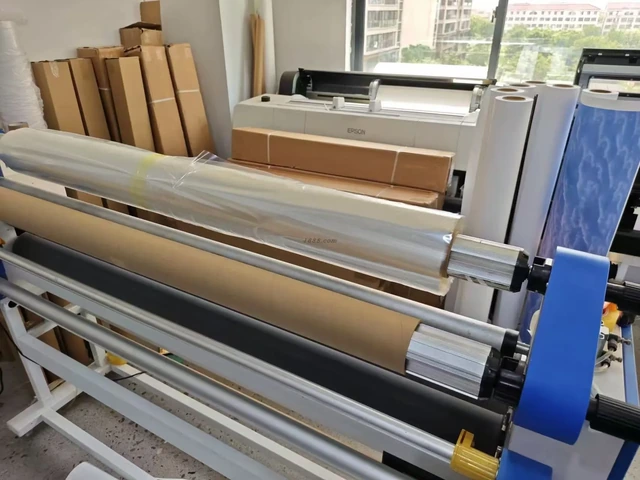
How to Frame Canvas Artwork You Want to Keep Through a Move
A frame should fit the physical canvas, protect it appropriately and still make sense when your next wall is unknown. Start by identifying the object, then choose the surround—not the other way around.
The short answer
To frame canvas artwork, first check whether it is a sound stretched canvas, a loose sheet of canvas, or a fragile painting. For a sound stretched work, measure its actual width, height, depth and squareness. Then compare an open-front floater, a lipped traditional frame and leaving well-finished wrapped edges visible. Order a frame made for that depth, follow its maker's attachment instructions, and protect the back. A shallow picture frame for paper is not a substitute.
If the work is unstretched, lifting, flaking, powdery, unusually valuable or already damaged, pause the simple DIY route and ask a qualified framer or conservator. A frame chosen because it matches today's sofa is a weaker long-term decision than one that suits the artwork as an object. That is the question we ask when someone is finally buying something of their own to take beyond the first apartment.
Before looking at frame colors, identify the canvas
On small screens, scroll sideways to read the full table.
| What you have | First decision | Why the route changes |
|---|---|---|
| Sound canvas already stretched over a firm wooden support | A compatible open-front floater or lipped frame may be fitted after measurement. | The frame must clear the canvas depth and attach to its support, never press on the painted face. |
| Unstretched or rolled canvas | Ask a framer whether it should be stretched or supported another way before ordering an outer frame. | Its finished dimensions and edge treatment are not yet fixed. |
| Flaking, friable, heavily textured or mixed-media surface; loose support; valuable original | Request specialist assessment before handling or mounting. | Generic fasteners, static, contact and transport layers can create avoidable damage. |
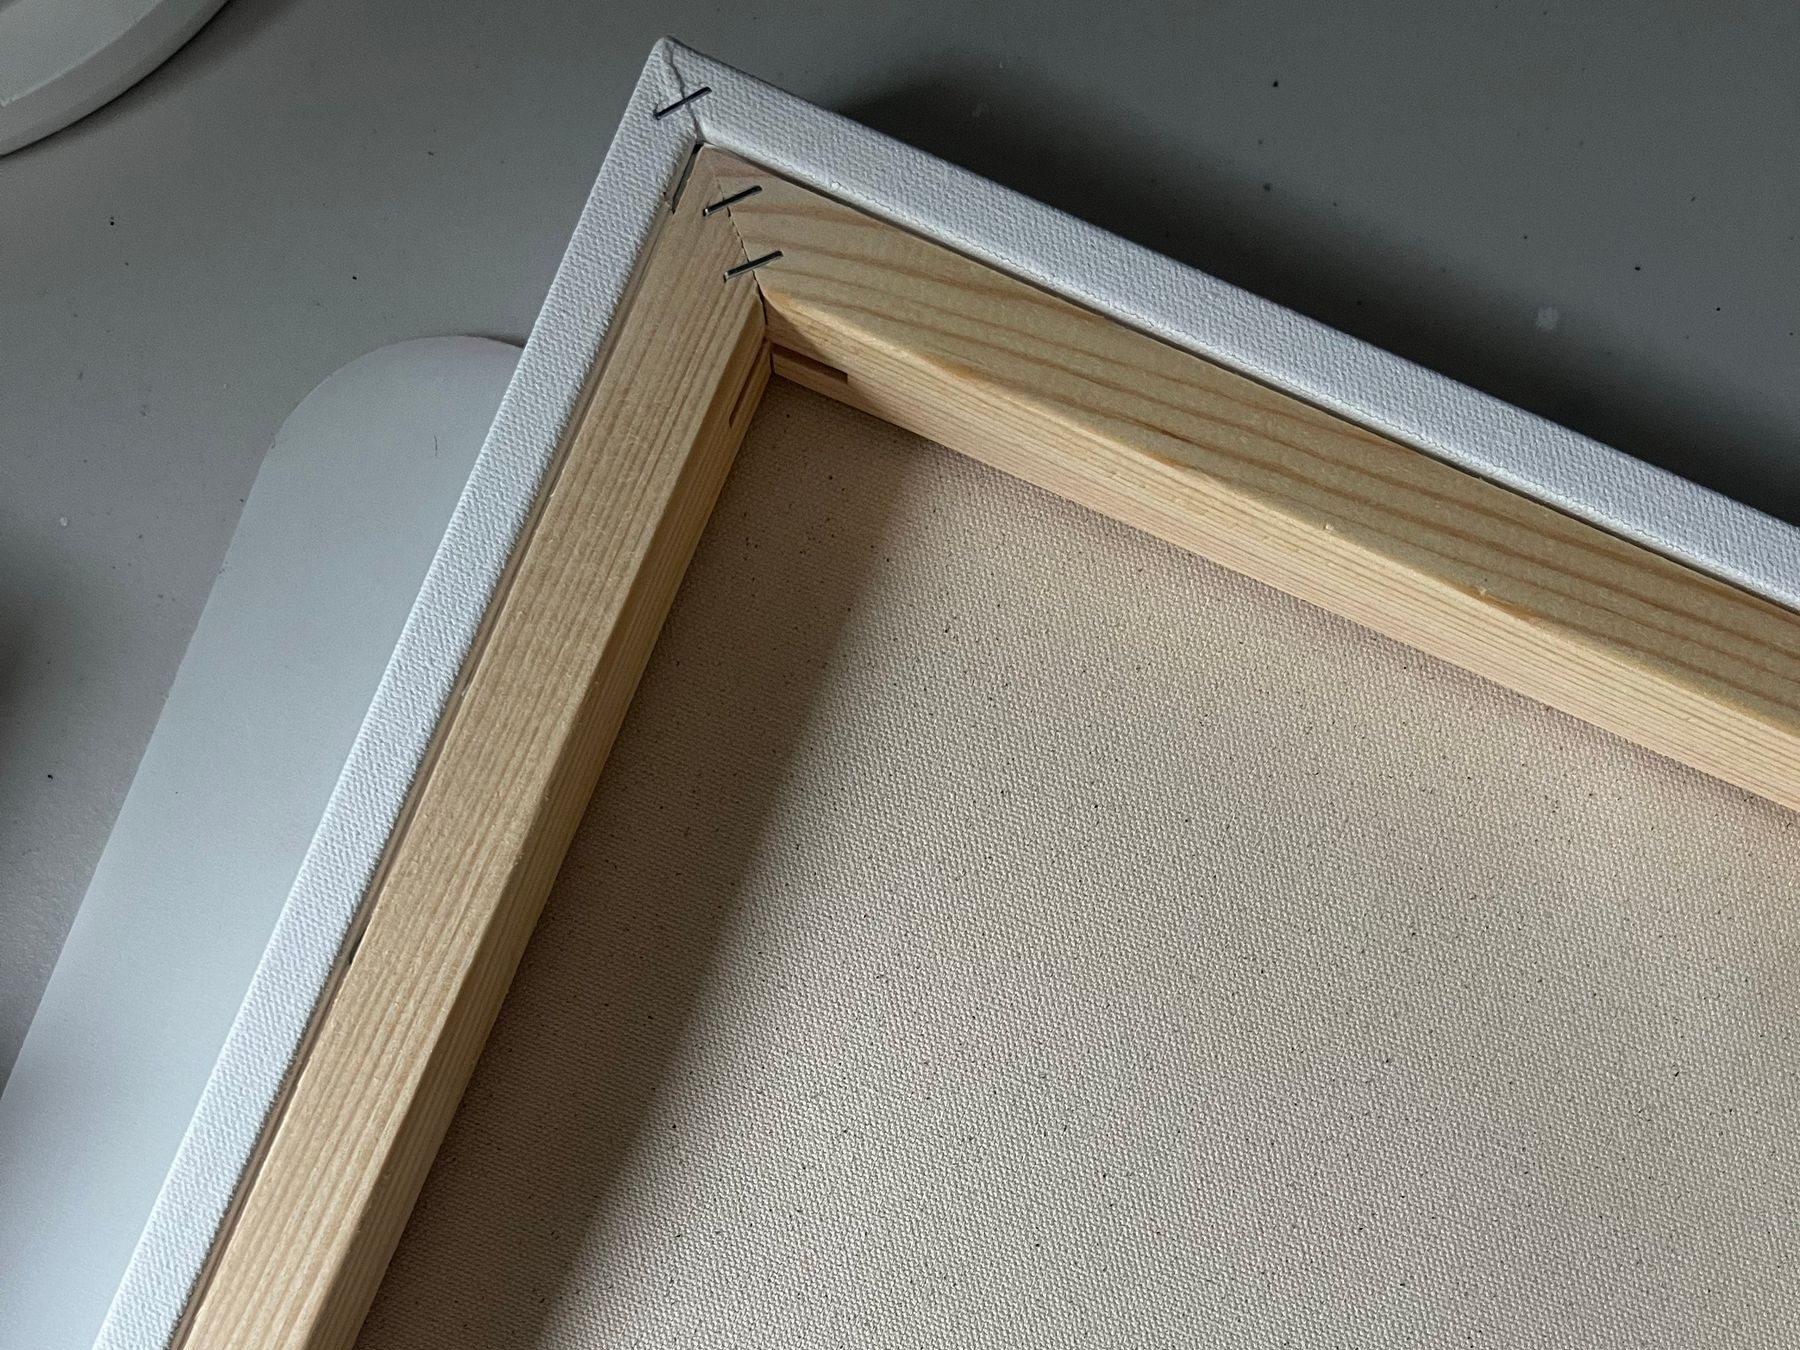
A stretched canvas has a back, edges and depth that a flat paper print does not. In this real photograph of a blank example, the fabric wraps around a wooden stretcher; measure the actual artwork in your hands before selecting a frame.
The Canadian Conservation Institute's framing guidance explains why support, backing, glazing and separation from the paint surface require object-specific decisions. This article is for a stable stretched canvas; it is not a conservation treatment manual. A paper print belongs on another route: our print-versus-poster guide clarifies those formats, and the CCI's paper-care advice covers matting and glazing considerations that should not be copied mechanically onto a thick stretched canvas.
If it arrives rolled, separate sheet size from image size
Rolled canvas art is delivered as loose canvas, rather than already stretched over bars. Before buying or requesting a frame, establish whether the advertised width and height describe the whole sheet or the image intended for the front. A blank margin and an image wrapped around the sides are different edge treatments. Our online art-buying guide compares these delivered forms; here we need the actual dimensions for framing.
Take a hypothetical rolled sheet measuring 20 × 28 in overall, with a 2 in unprinted border on every edge. Its image area is (20 − 2 − 2) × (28 − 2 − 2) = 16 × 24 in. That identifies the image you want on the front; it does not confirm that the margin is sufficient for any particular stretcher depth or attachment.
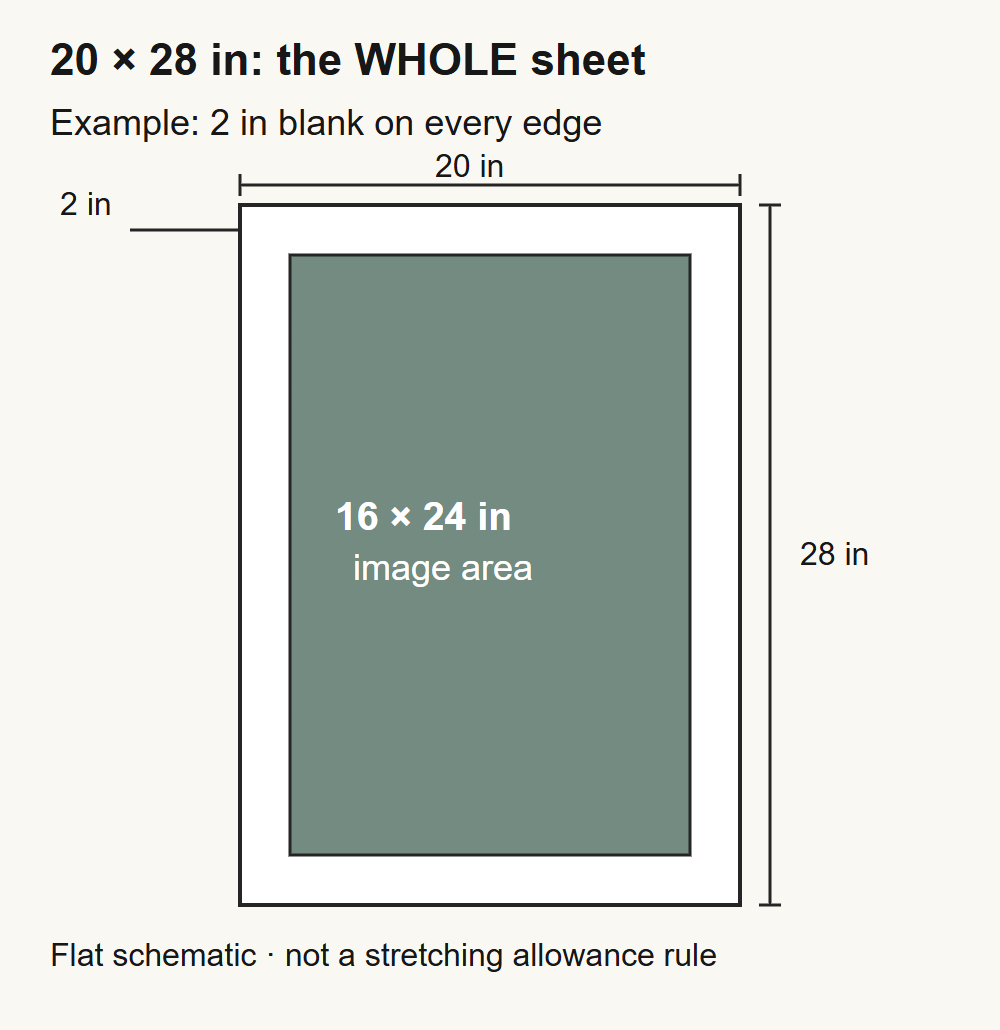
Now change the listing: it specifies a 20 × 28 in image, plus 2 in of canvas on each edge. The complete flat sheet is then 24 × 32 in. Both descriptions can contain “20 × 28,” but they describe different objects. For unequal margins, subtract the measured left and right margins from the sheet width, and the top and bottom margins from its height.
The Stackhouse states that its selected border is added to the overall print size, and advises confirming the required allowance with the framer. Large Print Studio’s measurement guide also separates face area from edge-to-edge size and explains why wrap style and bar thickness affect the margin needed. A 2 in margin in our example is an input, not a universal rule.
For the first sheet, we would request: “Keep the complete 16 × 24 in image on the front. Please confirm whether these 2 in unprinted margins suit the proposed support and depth, then quote the stretching or other support, any optional outer frame, finished outside dimensions, delivery and applicable tax.” We would not approve a 20 × 28 in stretched face from the sheet dimensions alone, or order its outer floater before the supported canvas dimensions are confirmed.
If important image content runs to the sheet edge, do not assume stretching will leave it all on the front. Ask the framer for the proposed visible area and an appropriate alternative support if necessary; hold approval until that preserves the part you want. For an unstable or valuable painting, retain the specialist assessment described above. Once the support is settled, continue with the frame-depth and surround choices below.
Measure the object, including its depth
Lay the work on a clean padded surface and inspect the support, not the image. Record the outside width and height at more than one point, the stretcher depth, whether the corners are square, whether paint or print continues around the sides, and whether existing hardware projects from the back. Ask the frame supplier whether a quoted size is the inside opening, the space for the stretcher, or the outer finished size. Those are different measurements. Do not order a nominal “50 × 50 cm frame” merely because the front image is approximately 50 × 50 cm.
The comparison below is a simplified cutaway of a sound stretched canvas. A floater has a visible reveal around the canvas and enough depth for its support. The shallow frame on the right was meant for a flat paper object; pushing a thick canvas into it would not make a sound assembly.
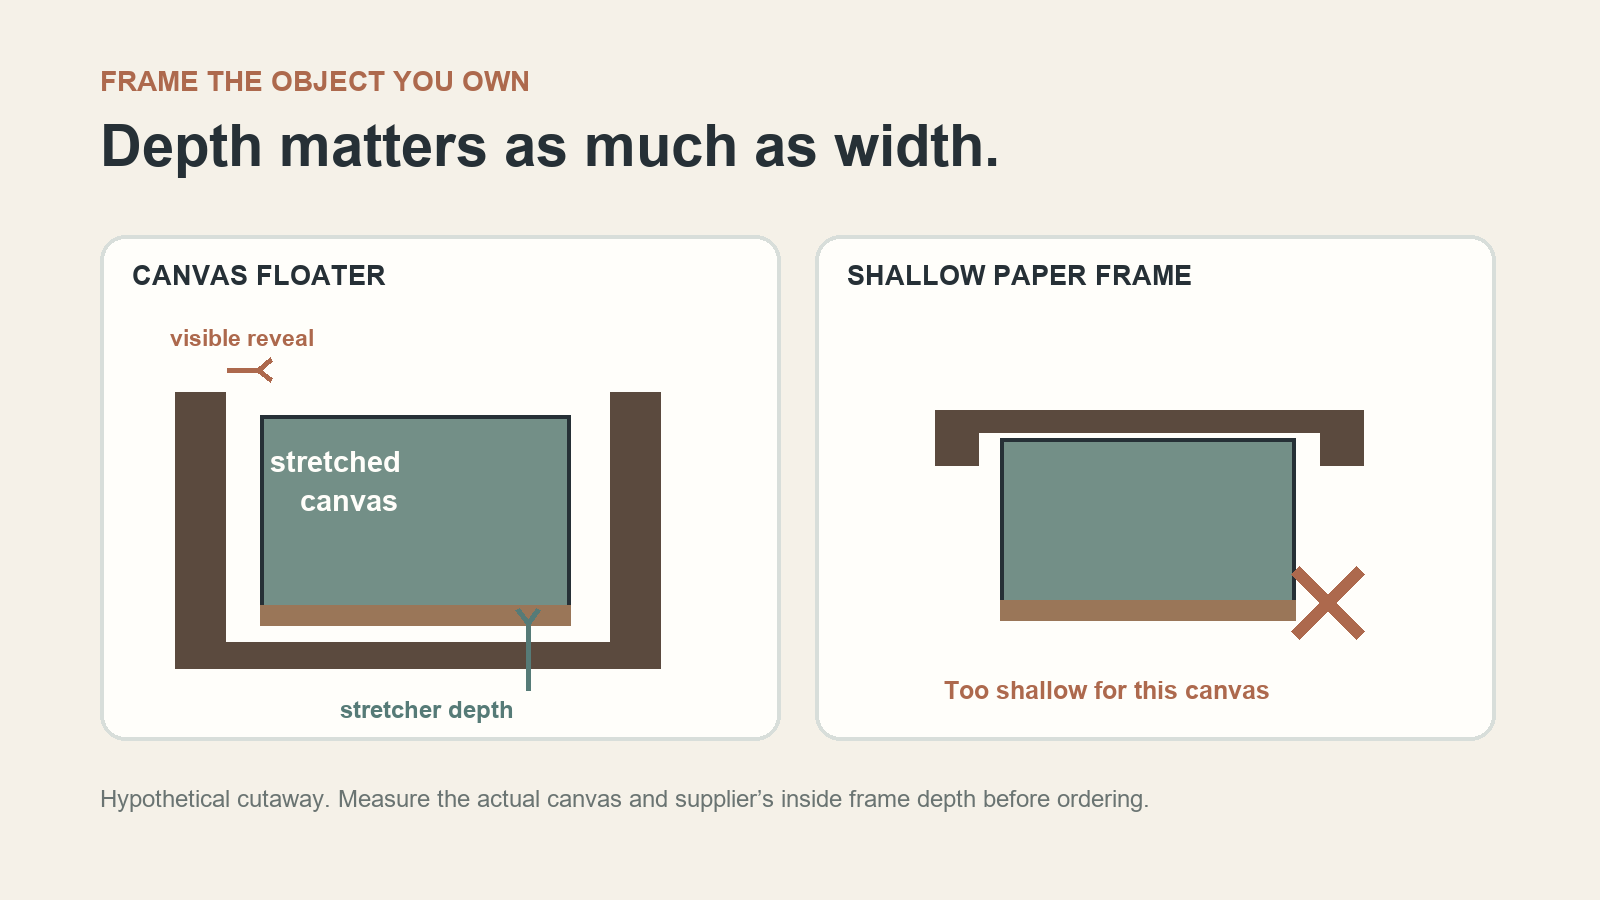
A r/framing question about a floater that seemed half an inch too large drew replies explaining that a reveal is part of this presentation. Those replies help identify the confusion; the precise safe gap and fixing still come from the frame maker and the actual object. Our editorial rule is simple: a visible gap can be deliberate, but an unstable fit cannot be excused as “floating.”
Choose a surround that belongs to the work, not one rental wall
Leave it unframed if the wrapped edges are finished, the support is stable and you like the object from the side. An outer frame is not automatically an upgrade. Choose a floater if you want the edge and a slim separation visible; check the frame's recess, reveal and approved fixing method. Choose a lipped frame when a deliberately covered edge and a different visual weight suit the work; it needs a suitable depth and a way to prevent the rabbet from harming the painted perimeter. A framer can specify this for an original.
Do not repeat the blanket claim that canvas should never have glass. Glazing can add protection for some paintings, but it must not touch the paint, and its material and spacing depend on the surface. The CCI notes that acrylic is less prone to breaking than ordinary glass when a painting travels, while static from acrylic can be unsuitable for powdery pastel or chalk. That is a reason to consult a specialist for vulnerable media, not a reason to add glazing to every canvas.
For someone expecting to move, we prefer a frame choice that can be described and handled as a complete object: known outer size, known attachment, sound backing and documented packing. “Neutral frame goes with everything” is too thin a promise. A frame may look quieter across several rooms, but it cannot make the art indestructible or guarantee a future wall will fit.
A completed choice: a 50 × 50 cm canvas with no fixed future wall
Suppose a new owner has a hypothetical sound stretched canvas, roughly 50 × 50 cm across the face and 2.5 cm deep. Its painted edge is intentional. The current apartment has a small entry wall, but the owner expects to move and does not know the next room. Three plausible routes are: hang the wrapped canvas as it is; add a compatible floater; or choose a lipped frame that hides the edge.
We would choose a restrained floater if the maker confirms the canvas's real measurements, the reveal stays even, and its approved fittings hold the support without touching the image. It keeps the painted edge visible while giving the object a finished outer boundary. The lipped frame loses that edge, and the bare canvas remains perfectly reasonable if the owner prefers it and its support and hardware are sound. The decision is about this object; it does not promise that a 50 cm square will fit every later apartment.
Now make the choice usable: write down the finished outer dimensions and weight, keep the frame maker's instructions, photograph the front and back, and retain suitable protective packing. If the work is difficult to replace or its surface is unstable, a qualified framer should make the attachment and transport plan. We would rather defer the frame than trade the original's condition for a quick “finished” look.
Fit carefully; make the next move part of the plan
- Prepare: clear a clean padded workspace. Check the canvas, stretcher and frame for loose joints, projections or dampness. If condition is uncertain, stop.
- Dry fit: orient the canvas correctly and check the reveal or lipped clearance without forcing a corner. Keep hands and tools away from the painted face.
- Attach: use the compatible hardware and instructions supplied for that particular frame and wooden support. Fasteners should not pierce the image surface. If the intended method would permanently alter a valuable or fragile work, ask a framer before proceeding.
- Finish the back: check appropriate backing and hanging hardware for the complete object's weight; document how the assembly comes apart or remains together. Verify the actual wall and fixing rules separately.
- Before moving: inspect condition again, protect corners and the face without letting wrap abrade a vulnerable surface, and pack for the specific work. Save or obtain a proper box; use a professional art handler for works whose fragility, size or value makes ordinary moving supplies inadequate.
The CCI's wrapping note bases preparation on painting condition, framing, backing and media. A moving discussion about many different art media received conflicting generic layer-by-layer advice. We would not turn any one reply into an all-media recipe. For a new rental, once the artwork is safely packed and moved, the separate choice of where and how to hang it in the current apartment can be made with that wall's permissions and support in mind.
A presentation example from WhispArt
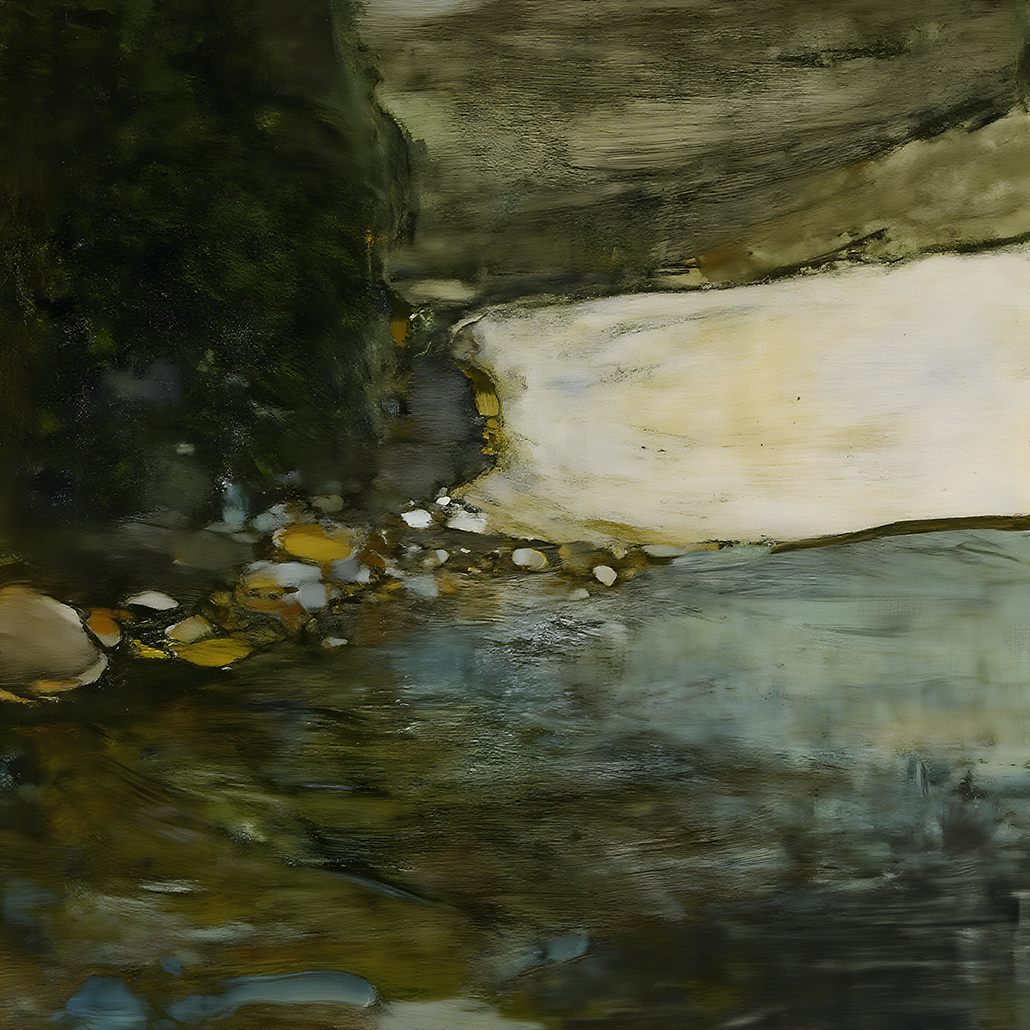
Our active PATH listing names walnut wood and aluminum frame options for the same artwork. The unaltered artwork image below does not show its substrate, frame construction or fixings. We include it here to make one point: when considering an artwork sold with frame options, compare the complete presentation described by its maker rather than assume a DIY floater instruction applies to that product. Confirm its material, available finish and care information on the current listing before choosing.
FAQ
Can I put a stretched canvas in an ordinary picture frame?
Only if that frame is actually deep and compatible enough for the canvas support and offers a safe attachment method. A shallow paper frame that matches the front width and height can still be wrong for the object's depth.
Should the floater touch the canvas edge?
Usually a floater is chosen to leave a visible reveal, but the correct opening and fixings come from the frame maker and the measured canvas. Do not force a snug fit or accept movement that leaves the support insecure.
Does a canvas painting need glass or acrylic?
Not automatically. Some paintings benefit from protective glazing, but it must be separated from the painted surface and chosen for the work's material and risks. Acrylic may travel with less breakage risk than ordinary glass, but its static can be a problem for powdery media. Ask a qualified framer for fragile works.
What if my canvas arrived rolled?
Confirm whether the stated size is the whole sheet or the front image. A 20 × 28 in sheet with 2 in blank on every edge contains a 16 × 24 in image; a 20 × 28 in image with those margins added occupies a 24 × 32 in sheet. Ask a framer to confirm the support, required allowance and retained front image before ordering an outer frame.
Can I use one packing method for every framed artwork when I move?
No. A sound printed canvas, a flaking painting, a glazed work and a loose paper print have different contact and support risks. Inspect the object and follow professional advice when condition, size or value makes the move consequential.
Sources and image note
Primary care guidance: Canadian Conservation Institute, “Framing a Painting”; “Wrapping a Painting”; and paper-art care. The observed framing SERP included a canvas seller's guide and Laasya Art's framer advice; these informed topic coverage, not conservation claims. Reddit links show real questions and differing replies, not general prevalence. The cover is a real studio photograph by Ivan S / Pexels; the canvas-support photograph is credited in its caption. Neither photograph depicts a WhispArt studio or product. The frame cutaway is an original schematic, the 50 × 50 cm case is hypothetical, and PATH is a current WhispArt artwork example rather than an installation or DIY test.